How to Save Battery Life on iPhone — 15 Settings That Actually Work
Mastering Battery Efficiency on iOS 26: Essential Tips and Tricks
As an iPhone user, saving battery life when you update to iOS 26’s advanced features is a crucial consideration. Particularly if you want to manage energy usage efficiently. That’s why we’ve created this simple guide to help you understand and implement a few key settings that will extend your device’s battery life without sacrificing functionality. Mobile performance isn't just about battery life; it's about how sites are built. See how our Portland Web Design team prioritizes lightweight, mobile first development.
By following these detailed steps below, you can optimize your iPhone’s battery performance.
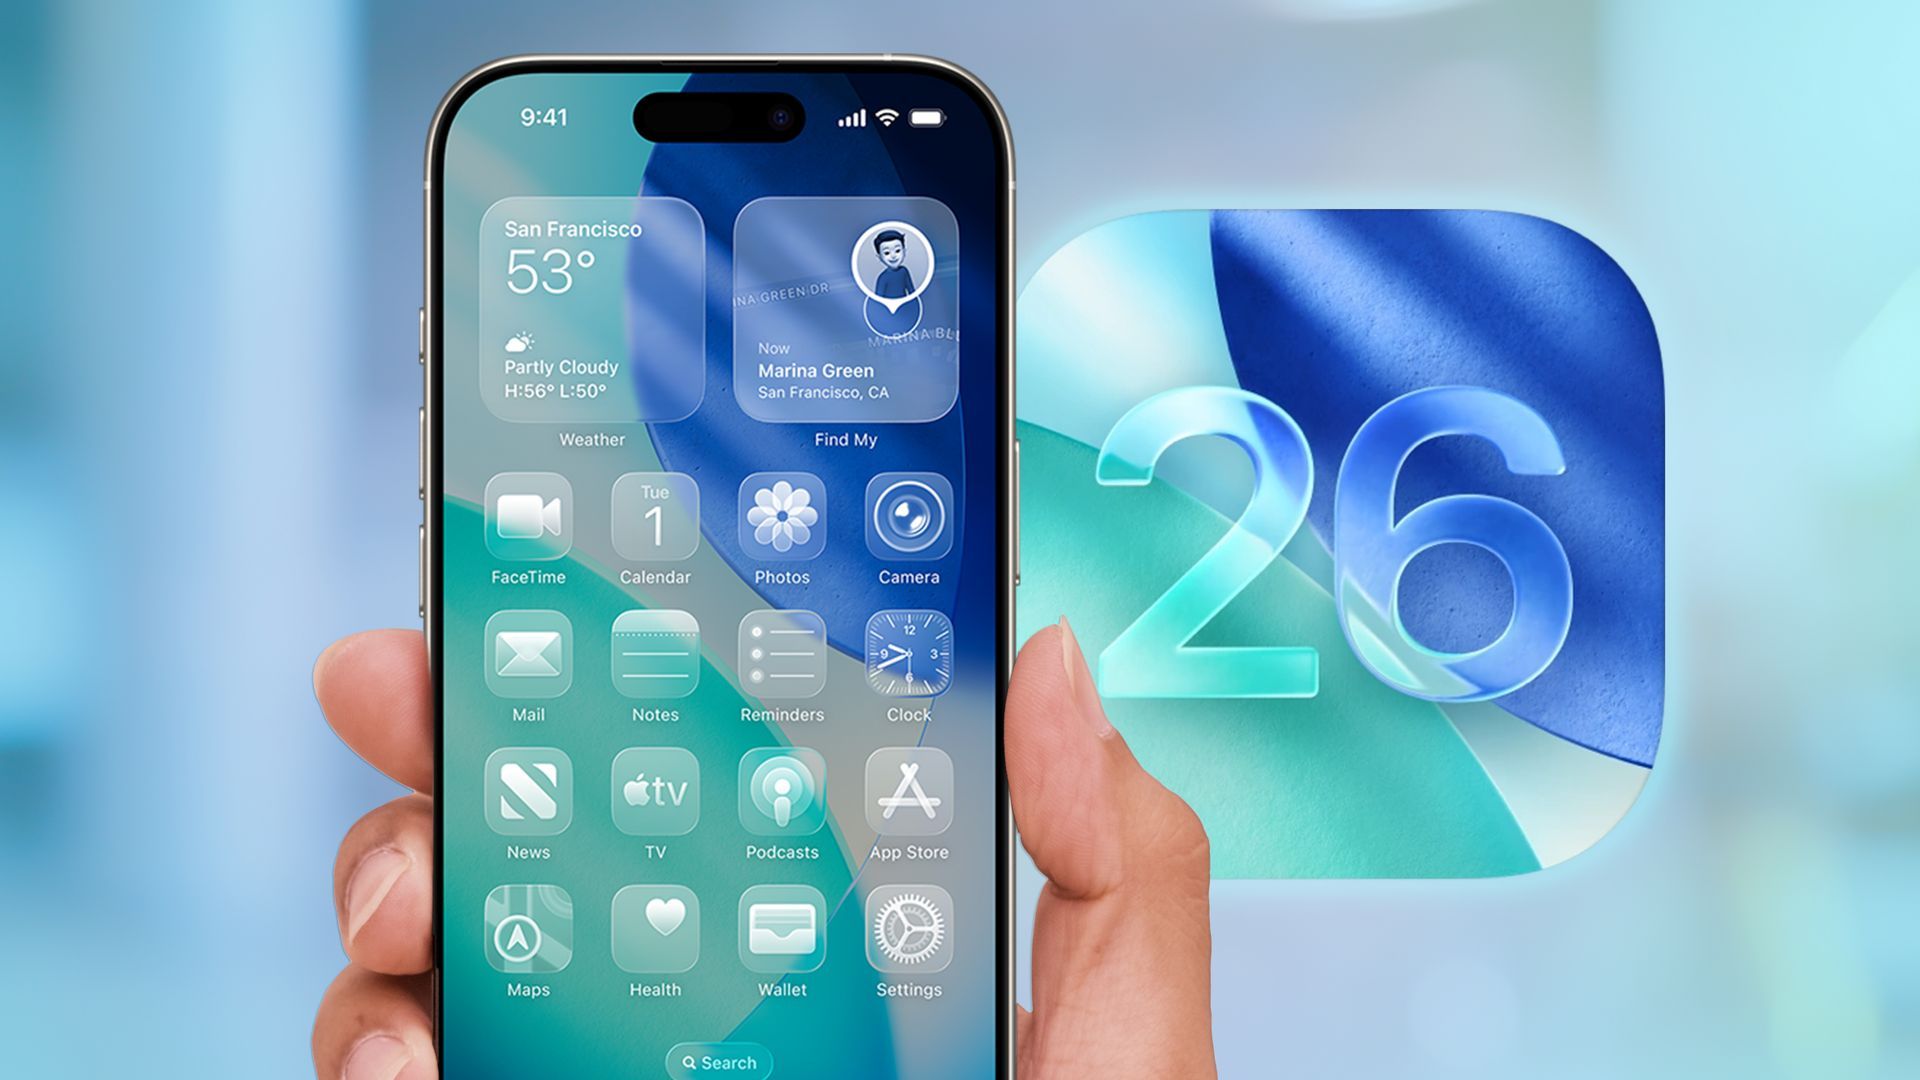
iOS 26 Battery Optimization
You're going to love what our list does for your iPhone's battery life, it's a game changer, if you're constantly on the go between meetings or job sites. These updates help you manage your apps, so they're not draining power when you're not actively using them. You'll notice your phone can actually make it through a full workday now, even when you're juggling calls, checking emails, using Maps to find a client's location, and snapping photos of your work. Enjoy our list of settings that will help you manage your phones battery life better.
Elevate your business with a custom built website from Salt Creative — schedule your free strategy session now!
Disabling Background App Refresh in iOS 26
Background App Refresh allows apps to check for new content and updates even when you are not actively using them. While this can be convenient for some applications, it can also consume significant battery life and cellular data. Here is how to take control of this feature in iOS 26:
Step 1: Open the Settings App
Locate and tap the Settings icon on your Home Screen.
Step 2: Navigate to General
Scroll down and tap on the General category.
Step 3: Select Background App Refresh
In the "General" menu, you will find an option for Background App Refresh. Tap on it to proceed.
Step 4: Customize Your Background App Refresh Settings
You will now see a list of all the apps that are using Background App Refresh. At the top of this screen, you have three main options:
- Off: Select this to completely disable Background App Refresh for all apps.
- Wi-Fi: This option allows apps to refresh in the background only when your iPhone is connected to a Wi-Fi network.
- Wi-Fi & Cellular Data: This will allow apps to refresh using both Wi-Fi and your cellular data plan.
- To turn off Background App Refresh entirely, simply select Off.
Step 5 (Optional): Manage Individual App Settings
If you prefer to keep Background App Refresh enabled but want to restrict certain apps, you can do so from the same screen. On the list of apps, you can use the toggle switch next to each app's name to enable or disable its ability to refresh in the background. This allows you to keep essential apps updated while preventing less important ones from draining your resources.
By following these steps, you can easily manage Background App Refresh in iOS 26 to optimize your iPhone's performance and battery life according to your personal usage habits. As the official release of iOS 26 approaches, users can look forward to exploring these and many other new features designed to enhance the iPhone experience.
How to Disable Unnecessary Location Services in iOS 26
The primary controls for location access are centralized within the Settings app, maintaining a familiar path for long time iPhone users. You can adjust these settings at any time.
Step 1: Navigate to Location Services
First, open the Settings app from your Home Screen. It's the icon that looks like a set of gears. From there, scroll down and tap on Privacy & Security. At the very top of the next screen, you will see Location Services. Tap on it to proceed.
Step 2: Choose Your Level of Control
You now have several options for managing how your location is shared.
To Completely Turn Off Location Services:
You can disable all location tracking by tapping the main Location Services toggle at the top of the screen to the "Off" position. A pop up will appear warning you that features like "Find My" will be disabled. This is an extreme measure and will prevent apps like Maps, Weather, and ride-sharing services from functioning correctly.
To Manage Location Services for Individual Apps (Recommended):
A more practical approach is to manage permissions on an app by app basis. On the main "Location Services" screen, you will see a list of every app that has requested access to your location.
- Tap on an app's name from the list to manage its specific permissions.
- Under "Allow Location Access," you will be presented with several options:
- Never: This completely prevents the app from ever accessing your location.
- Ask Next Time Or When I Share: The app will have to prompt you for permission each time it wants to use your location data.
- While Using the App: The app can only access your location when it is open and actively being used on the screen. This is the most common and recommended setting for apps that need your location to function, like a navigation or food delivery app.
- Always: (This option is less common now) It would allow an app to access your location even when it is running in the background.
Step 3: Control Precise Location Access
For even more privacy, iOS 26 allows you to control whether an app knows your exact position or just a general area. Within an individual app's location settings, you will see a toggle for Precise Location.
- If you turn Precise Location off, the app will only be able to determine your approximate location. This is sufficient for many apps that don't need to know your exact coordinates, such as a local news or weather app.
Step 4: Review and Manage System Services
If you scroll to the very bottom of the Location Services screen, you will find System Services. Tapping this reveals a list of built-in iOS functions that use your location, such as "Setting Time Zone," "Emergency Calls & SOS," and "Find My iPhone." You can review this list and disable location access for any non-essential services to further enhance your privacy.
Use Wi-Fi Instead of Cellular Data When Possible
Cellular data typically consumes more power than Wi-Fi. Whenever you’re in a location with a reliable Wi-Fi connection, switch to it:
- Open Settings and toggle on Wi-Fi.
- Connect to a trusted network.
To prevent your phone from automatically switching back to cellular, disable Wi-Fi Assist under Settings > Cellular > Wi-Fi Assist.
How to Enable Dark Mode in iOS 26
iOS 26 offers two simple ways to activate Dark Mode: a quick toggle in the Control Center for on the fly changes, and more detailed options within the Settings app, including automatic scheduling.
Method 1: Using the Control Center (The Quickest Way)
The Control Center is the fastest way to switch between Light and Dark Modes without interrupting your workflow.
Step 1: Access the Control Center.
- For iPhones with Face ID (iPhone X and later): Swipe down from the top-right corner of your screen.
- For iPhones with a Home button (iPhone SE, iPhone 8 and earlier): Swipe up from the bottom edge of the screen.
Step 2: Access the Brightness Control.
Press and hold the Brightness slider (the icon with the sun symbol). This will expand the slider to fill most of the screen and reveal additional options.
Step 3: Toggle Dark Mode.
In the bottom-left corner of the expanded brightness view, you will see the Dark Mode button. Tap it to instantly switch Dark Mode on or off. The appearance will change immediately.
Method 2: Using the Settings App (For Customization)
The Settings app allows you to enable Dark Mode and set up an automatic schedule so it activates at your preferred times.
Step 1: Open the Settings App.
Tap the grey Settings icon with the gears on your Home Screen.
Step 2: Navigate to Display & Brightness.
Scroll down and tap on the Display & Brightness menu option.
Step 3: Choose Your Appearance.
At the top of the screen, under the "Appearance" section, you will see two options: Light and Dark. Tap on Dark to enable it manually.
Step 4: Set an Automatic Schedule (Optional).
To have Dark Mode turn on and off automatically, toggle the switch next to Automatic. Once enabled, you will see two options:
- Sunset to Sunrise: This option uses your location to automatically activate Dark Mode when the sun sets and switch back to Light Mode at sunrise.
- Custom Schedule: This allows you to set specific times for Light and Dark Modes to appear. For example, you can set Dark Mode to turn on at 10:00 PM and off at 7:00 AM.
By customizing these settings, you can enjoy a more comfortable viewing experience that adapts to your environment and time of day, all within the fresh and modern interface of iOS 26.
Limit Push Notifications
The All-or-Nothing Approach: Disabling Notifications for Specific Apps
For applications that are persistent with non-essential updates, you can completely turn off their ability to send you notifications.
Step by Step Instructions:
- Open the Settings app on your iPhone.
- Scroll down and tap on Notifications.
- Under the "Notification Style" section, you will see a list of all your apps that have requested to send notifications.
- Tap on the app for which you want to disable notifications.
- At the top of the screen, toggle off the Allow Notifications switch. The switch will turn from green to gray, indicating that notifications for this app are now disabled.
Fine-Tuning Your Alerts: Customizing Notification Delivery
If you don't want to completely silence an app, you can customize how and where its notifications appear.
Step-by-Step Instructions:
- Navigate to Settings > Notifications and select the desired app.
- Ensure Allow Notifications is toggled on.
- Under the "Alerts" section, you can choose where you want to see notifications from this app:
- Lock Screen: The notification will appear on your lock screen.
- Notification Center: The notification will be accessible by swiping down from the top of your screen.
- Banners: A temporary banner will appear at the top of your screen when a new notification arrives. You can also choose the banner style (Temporary or Persistent).
- You can also choose to enable or disable Sounds and Badges (the red number that appears on the app icon).
Tame the Distractions: Scheduling Notification Summaries
For apps that send frequent but non-urgent updates, the Scheduled Summary feature is a powerful tool. It gathers these notifications and delivers them to you in a single, convenient summary at times you choose.
Step-by-Step Instructions:
- Go to Settings > Notifications.
- Tap on Scheduled Summary.
- Toggle on the Scheduled Summary switch.
- You will be prompted to select the apps you want to include in your summary. Choose the apps whose notifications you'd prefer to see in a batch rather than individually.
- Set the schedule for your summaries. You can have multiple summaries delivered throughout the day at times that are most convenient for you.
Focus on the Task at Hand: Utilizing Focus Modes
Focus modes allow you to create customized notification settings for different activities, such as work, sleep, or personal time.
Step-by-Step Instructions:
- Open Settings and tap on Focus.
You can choose from existing Focus modes like "Do Not Disturb," "Personal," "Sleep," or "Work," or create a new custom Focus by tapping the + icon.
When setting up a Focus, you can choose to allow notifications from specific people and apps. All other notifications will be silenced while the Focus is active.
You can schedule your Focus modes to turn on automatically at certain times, in specific locations, or when you open certain apps.
Consider Using Low Power Mode When Needed
Low Power Mode is a built-in feature designed to extend battery life by temporarily reducing power-hungry activities. While most users only enable it when the battery level is low, it’s also a good idea to use this feature when you know you’ll be away from a charger for a while. To enable low power mode:
- Open Settings > Battery and toggle on Low Power Mode.
- Alternatively, add it to your Control Center for quick access by going to Settings > Control Center > Customize Controls.
When activated, Low Power Mode reduces mail fetch, background app refresh, and some visual effects.
Optimize Your Lock Screen for Peak Performance
Lock Screen widgets offer a fantastic window into your favorite apps, but a cluttered Lock Screen can impact your iPhone's battery life. Here’s how to refine your setup for efficiency:
- Press and hold your Lock Screen until the customization gallery appears.
- Tap the Customize button at the bottom of the screen.
- Select the Lock Screen to edit.
- Tap on the widget box below the clock.
- To remove a widget, tap the minus icon (—) on its corner.
- To replace a widget, tap it to see the full gallery of available options.
Pro Tip:
Choose widgets that display information without needing frequent, real-time data updates. For example, a Reminders or Calendar widget is generally more battery-efficient than a constantly updating Weather or Stocks widget.
Essential Tips for Maximizing Battery Life
Keep your iPhone running longer with these proven strategies:
- Regularly Update Your iOS: Always install the latest iOS updates. Go to Settings > General > Software Update. Apple's updates often include critical performance improvements and battery optimizations.
- Keep Your iPhone Cool: Avoid exposing your iPhone to extreme ambient temperatures (above 95° F or 35° C), as this can permanently damage battery capacity. Never leave it in a hot car or in direct sunlight for extended periods.
- Identify and Manage Power-Hungry Apps: Navigate to Settings > Battery. Here, you can see a detailed breakdown of which apps are consuming the most power. If you see an app you rarely use draining a significant amount of battery, consider limiting its background activity (Settings > General > Background App Refresh) or deleting it.
- Turn Off Haptic Feedback: Vibrations for keyboard feedback, calls, and notifications use the Taptic Engine, which consumes power. If you don't need this tactile feedback, go to Settings > Sounds & Haptics and turn off System Haptics and the keyboard feedback options.
Lower Your Screen Brightness
Method 1: Using the Control Center (The Quickest Way)
The Control Center provides instant access to essential settings without needing to leave your current app.
Step 1: Access the Control Center.
- For iPhones with Face ID (iPhone X and later): Swipe down from the top-right corner of your screen.
- For iPhones with a Home button (iPhone SE, iPhone 8 and earlier): Swipe up from the bottom edge of the screen.
Step 2: Locate the Brightness Slider.
In the Control Center, you will see a vertical slider icon, typically depicted with a sun symbol. This is the brightness control.
Step 3: Adjust the Brightness.
Press and hold the brightness slider and drag your finger downwards to lower the screen brightness to your desired level.
Method 2: Using the Settings App
The Settings app offers a more traditional way to adjust brightness and provides access to additional display settings.
Step 1: Open the Settings App.
Locate and tap the "Settings" icon on your Home Screen. It's the grey icon with gears.
Step 2: Navigate to Display & Brightness.
Scroll down and tap on the "Display & Brightness" option in the main Settings menu.
Step 3: Adjust the Brightness Slider.
At the top of the "Display & Brightness" screen, you will find a horizontal slider. Drag the slider to the left to decrease the screen's brightness.
Advanced Brightness Settings in iOS 26
Beyond manual adjustments, iOS 26 will continue to offer intelligent features to manage your screen's appearance automatically. Within the "Display & Brightness" settings, you can expect to find:
- Automatic: This setting, when enabled, allows your iPhone to use its ambient light sensor to automatically adjust the screen brightness to suit your surroundings.
- True Tone: This feature adapts the color and intensity of your display to match the ambient light, making images appear more natural.
- Night Shift: This popular feature automatically shifts the colors of your display to the warmer end of the spectrum after sunset, which may help reduce eye strain in low-light conditions.
Additional Tips for Maximizing Battery Life
- Regularly Update Your iOS: Apple frequently releases updates that include battery optimization features.
- Keep Your iPhone Cool: High temperatures can degrade battery performance. Avoid leaving your phone in hot environments.
- Manage Power-Hungry Apps: Check battery usage under Settings > Battery to identify apps consuming the most power and limit their use.
- Turn Off Vibrations: Vibrations for calls and notifications use additional power. Disable them under Settings > Sounds & Haptics if not needed.
Final Thoughts
All the optimization tips that we’ve outlined in this short guide can keep your device running longer and enhance your overall user experience. Following these steps precisely will maximize the battery life of your iPhone while running iOS 26. Whether it’s through adjusting settings, enabling Low Power Mode, or managing notifications and widgets, these small changes can make a significant difference.
At Salt Creative, we build websites that work just as hard on mobile as they do on desktop — because most of your customers are on an iPhone right now. If your business website loads slow, drains data, or breaks on small screens, you're losing customers before they ever read a word. We're a web design agency serving small businesses across Boise, Spokane, Portland, and Colorado Springs, and we'd love to help you make a better first impression. Get a free strategy session →
BONUS: iOS 26 Settings To Turn OFF Now!
- Battery Charge Limit: Set a limit (e.g., 90%) in Battery settings.
- Communication Preferences: Disable unwanted email switches.
- Subscriptions: Review and cancel unnecessary services.
- Cellular Data (5G): Switch to LTE if 5G signal is weak.
- 5G Standalone: Turn off in Cellular Data Options.
- Data Mode: Use "Low Data Mode" over "Allow More Data."
- iCloud Backup (Cellular): Disable over cellular.
- Wi-Fi (Ask to Join): Turn off to prevent unwanted connections.
- App Store (Downloads): Disable automatic downloads across devices.
- App Store (Video Autoplay): Turn off.
- App Store (Ratings & Reviews): Turn off in-app prompts.
- Camera (Faster Shooting): Turn off for better image quality.
- Camera (Apple ProRes): Disable unless specifically needed.
- Sounds & Haptics (Keyboard): Turn off sound and haptic feedback.
- Sounds & Haptics (Lock Sound): Turn off.